Renewable Energy Journey

The Steps Towards Your Renewable Energy Journey with ReVision Energy

To help our Solar Champions know what to expect when going solar with ReVision, we have simplified the renewable energy journey into a 6-step. We want to transparently educate the solar-curious on what the process of going solar realistically looks like, from start to finish. As always, reach out to our Solar Designers if you have any questions.

The first step on your renewable energy journey involves talking to our expert Solar Advisors to determine the best solar and electrification options for your home. Congratulations! you have already completed the first step! You are now on Step 2: a Home Site Evaluation with one of our System Design Specialists. Feel free to reach out to your Solar Advisor with any questions you might have between now and then, and learn more about the next steps below. 

Step 2: Home Site Evaluation

An experienced specialist will come and conduct a thorough evaluation of your home and make sure you have all the information you need to make the best decisions about your solar journey.

A System Design Specialist is your personal consultant: they are focused on developing a system model that equally prioritizes your needs and matches the specifications of your home. Your designer will identify and propose creative solutions when conditions limit the system size needed to match your energy goals (like adding a heat pump for temperature control, or battery storage for use during power outages).

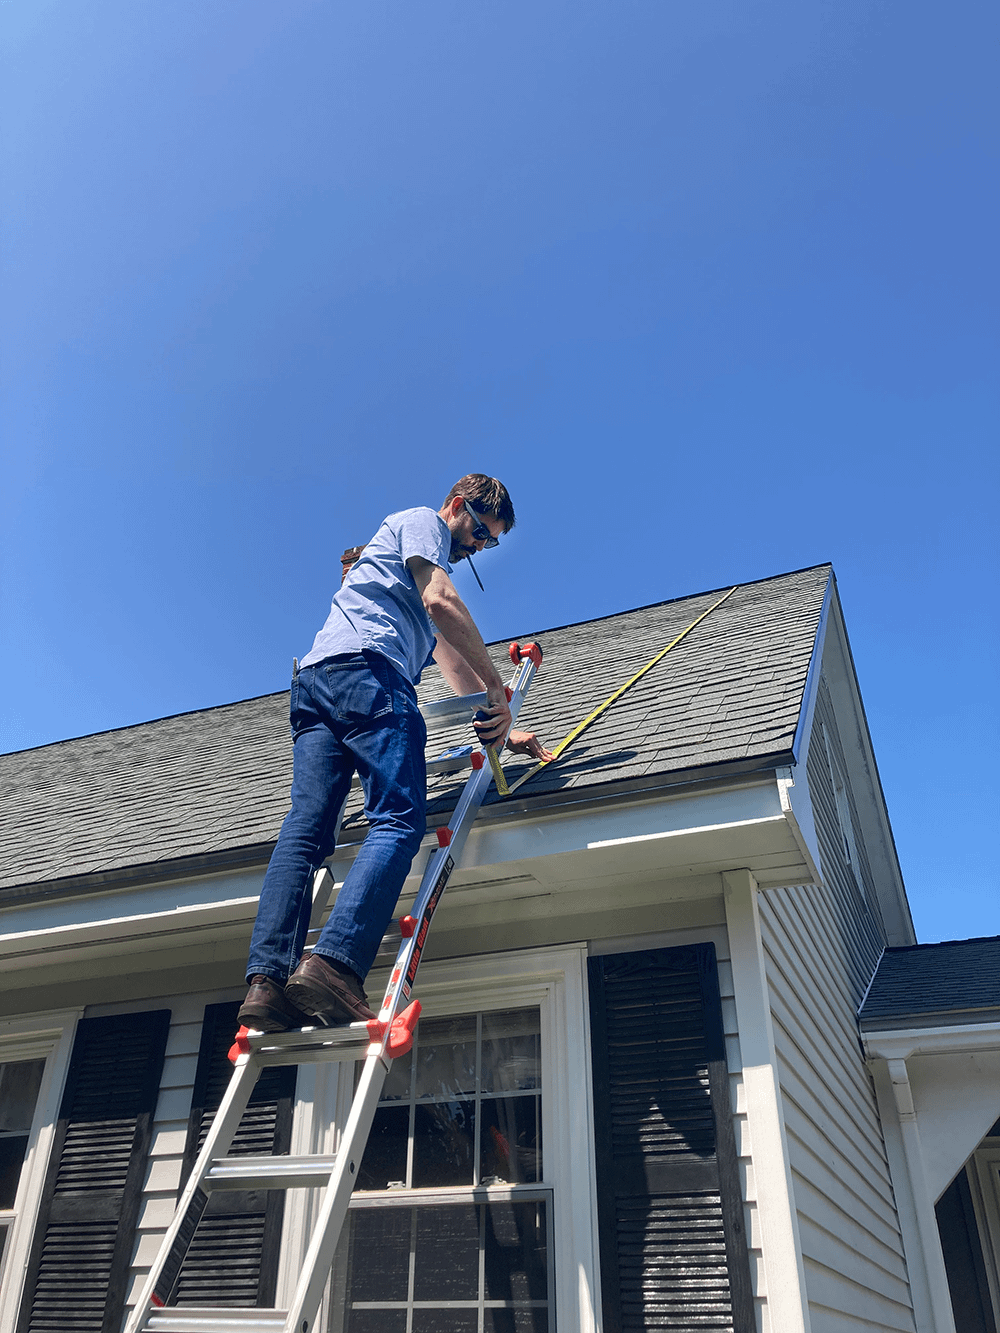
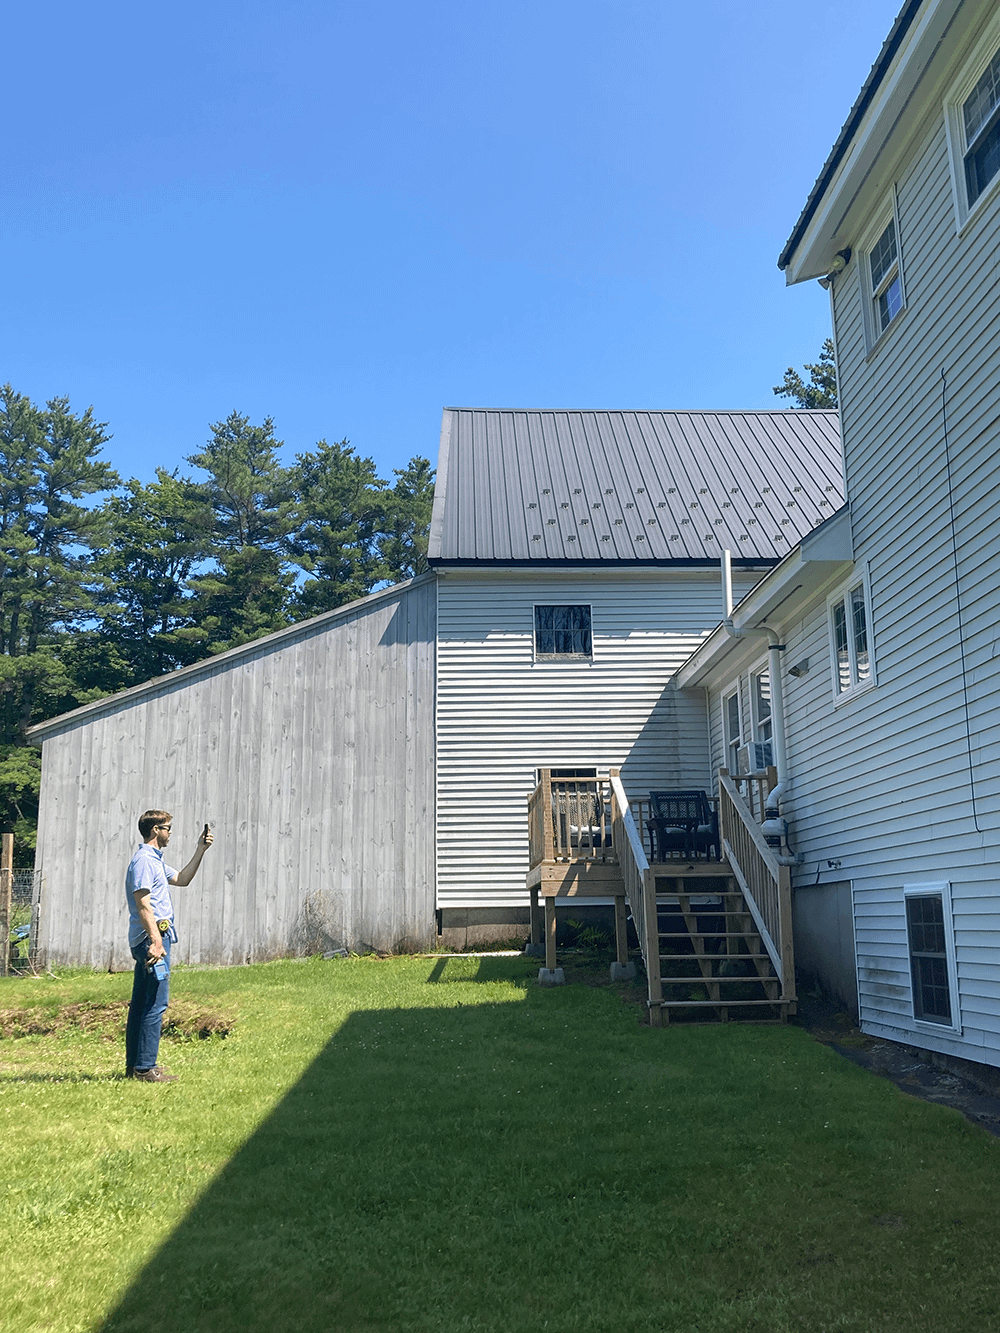
Calen, one of our Solar Designers, taking measurements and photos during a site visit:

Step 3: Designing your System

After your home visit, our Solar Design team will help you review your financing options and available incentives and plan the most cost-effective system for your budget.

When creating your system design, your designer will walk you through specific financing options and available incentives. They will ultimately share a detailed project proposal with you, based on your conversations, goals, and the specifics of your home.

Your project is designed to optimize panel performance and long-term savings based on the information gathered during your home evaluation. Some of the key factors that impact your unique design include:

  • Roof layout and solar site potential
  • Average home energy usage
  • Design and offset preferences
  • Local permitting requirements
  • Electricity rates and incentives

Your proposal will outline system size, panel placement, and estimated energy offset.

Step 4: Going Under Contract & Preparing for Installation

Our Operations team will oversee all the paperwork to get your project permitted for installation and connection to the grid. We will guide you every step of the way!

Going Under Contract

After finalizing your system details, our Customer Experience team will help with navigate signing your contract and become your primary contact in the months leading up to installation. Applying for interconnection is a key step in this part of the process. We will walk you through the interconnection application process required for your utility, which will allow you to receive billing credits once your project is turned on.

You’ll also get scheduled for a second, more technical site visit that involves taking photos and measurements needed for our detailed planning around electrical equipment and the nitty-gritty specifics of your roof. If it is required in your state, we’ll share a Professional Engineering (PE) Analysis of your roof structure, using the data obtained during your Technical Site Visit.

The design packet serves as an instructional manual for our team of installers; it is also used to request permits from your town or city when applying for grid interconnection through your utility provider.

Once we finalize all permitting, account for every piece of your system’s equipment, and fully understand your home’s structural fitness...we’re ready to schedule your installation!

Preparing for your Installation Day

When you go under contract you will be added to our installation queue, and we will give you a window of time during which you can expect your installation to happen. It is usually several weeks between contract and scheduling, although exact time varies by project. Our Customer Experience team will be in touch with you frequently to prepare you for your install.

When your installation window approaches, we will work with you to schedule the exact date that works for you. We will also share a reminder of the equipment we’ll be installing, per your contract, and answer any questions as you prepare for the big day.

To help your installation go smoothly, you prepare your home by:

  1. clearing your electrical equipment area of clutter
  2. removing any thorny obstacles around your outdoor utility meter
  3. being ready to provide the WiFi password for setup of system monitoring

Step 5: Installation Day

On the big day, our professional Installation crew will build your solar project from start to finish, and ensure it is set up for maximum output.

Installation can be a day-long or multi-day event, depending on the size of your system and any required structural or electrical upgrades. We ask only that you try to be available when the crew first arrives to meet your Crew Lead for an overview of the final installation plan. After that they’ll be happy to interact and answer your questions throughout the day(s), but you don’t need to stay at the house.

smiling_installer_with_panel.jpg
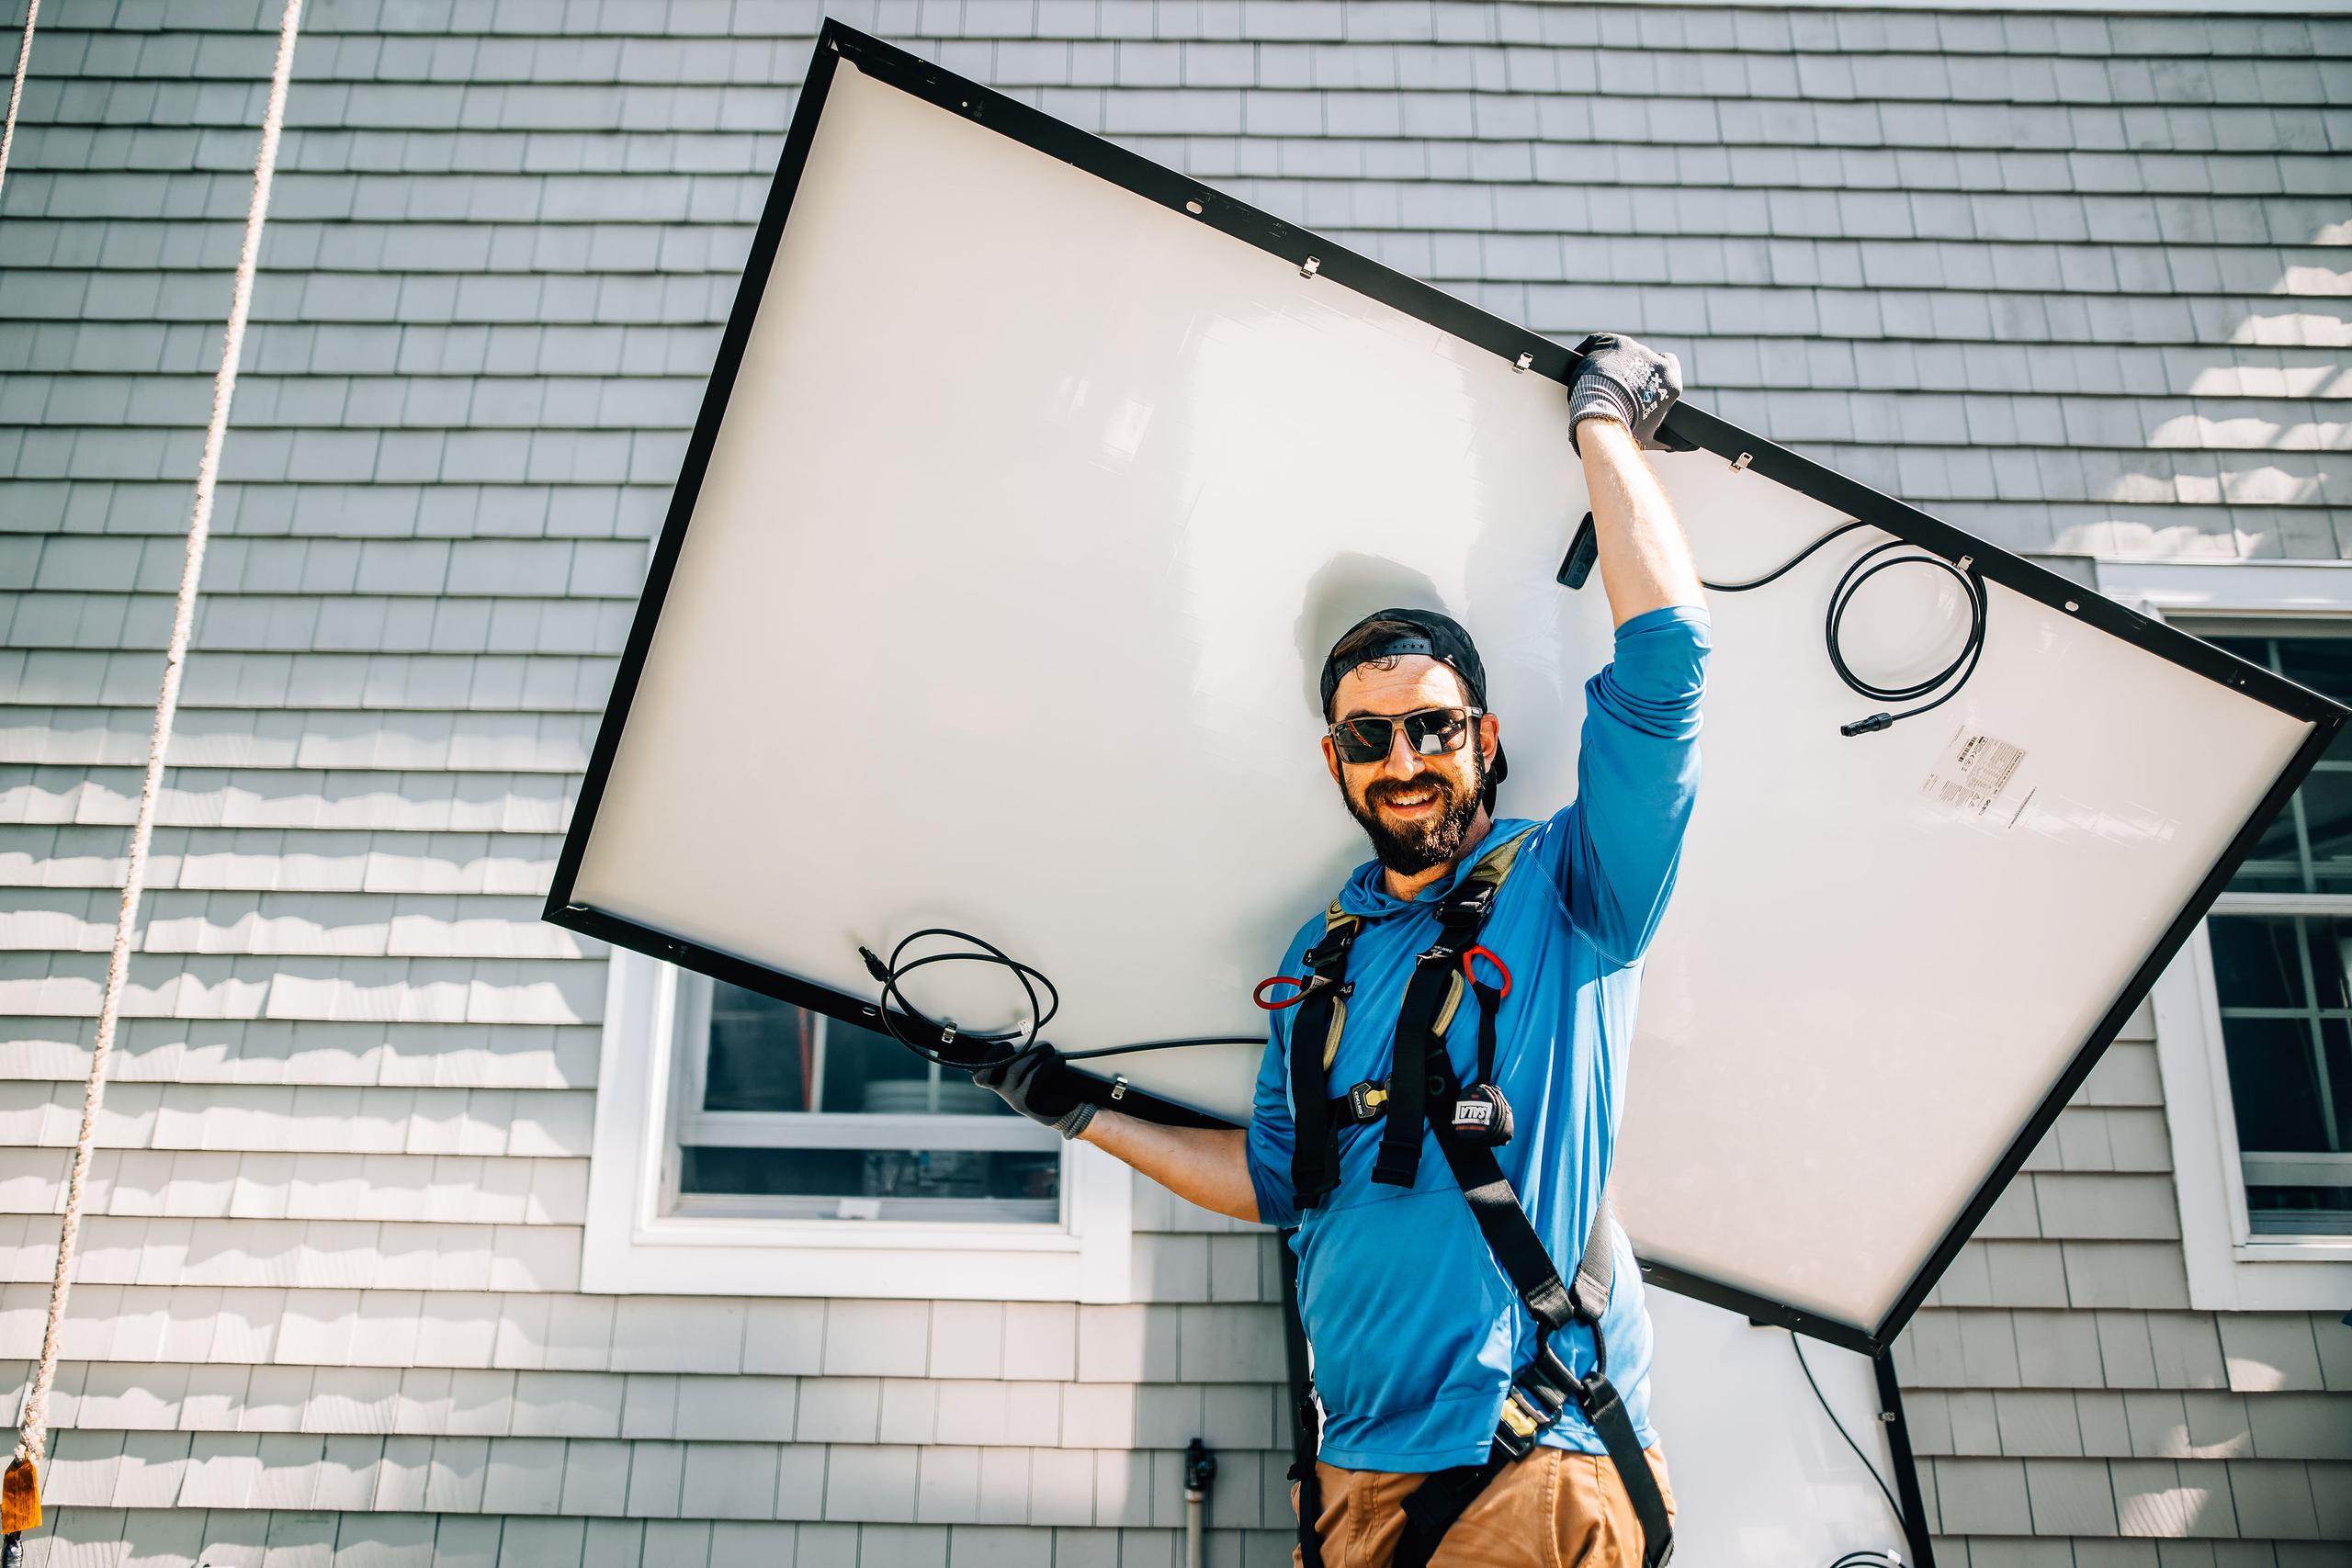
An installation day typically begins between 8:00 and 9:00 am and ends around 4:00 pm. Installation shouldn’t impact you until we’ve reached the final step of install, when our crew will require a momentary power outage for us to safely complete the electrical tie-in of your system (your Crew Lead will tell you when to expect this).

After getting onto your roof, preparing it for safe and accurate attachment of equipment, the crew will install the electrical wiring that we’ll later connect to your home’s electric panel. They will then install the racking for the panels, followed by the panels themselves.

Step 6: Turning Your System On

With our Service team prepared to keep your system running smoothly, sit back and enjoy a decreased electric bill and carbon footprint for years to come.

Your completed system looks great and is ready to do its job! There's just one last bit of red tape standing between you and all the rewards of going solar: we need to schedule a final inspection with your local building department. A member of our Operations Team will be there to meet the inspectors, but this process does require access to your home, so we’ll work with you to find good timing.

After your home and system pass inspection, we will request project review from your utility provider and within six weeks or less they’ll connect your system to the grid. We then receive Permission to Operate (PTO) within 24 hours. At this point we’ll share an operating guide with you, including instructions on how to activate your system and monitor its production.

You’re now officially a Solar Champion, joining the ranks of a community unlike any other. We’re honored to have you here! Your system comes with warranties and genuine, long-term service from our dedicated Service and Support department. If you have questions about your system and production, you can reach out to our team anytime.

Welcome to the ReVision Energy community!